Saturday, 3 March 2012

Haul: Real Techniques Stippling Brush

Hello lovelies,


I haven't posted in forever, and the reason for that is because I am completely bogged down with work. Honestly, I can't wait for it to be out of the way so I can focus on bringing you more looks and posts!
But until next week, I'm going to be quick although I do have a few posts scheduled for you all.


Anyway, onto this post...


Real Techniques are a brand that I've known about for a while, anyone who is a fan of the Pixiwoo sisters on Youtube will know that the brushes have been brought to us due to their popularity.
They've recently starting selling the brushes in the large Boots store throughout the UK, and I was lucky enough to get my hands on one!


I picked up the Stippling brush because I wanted to try it out and all I've been using recently is my E.L.F Stippling brush.
The brush has a nice sturdy handle which makes it great to move and be flexible. I love the way that the bottle is flat so that you can stand it up when you're not using it, it'll make it easy if you're applying make up.
The brush itself has a lovely feel to the bristles, they're so soft and easy to work. It's a perfect shape to be able to work really closely and move around the face, fitting into all the different dips and shapes. 
I feel that the bristles are hard enough, they're soft to the touch but when worked on the face they're hard to accomplished an airbrushed look. 

One of the other great things about these brushes is that they're all colour co-ordinated! I think this is such a great idea, especially for those learning or starting out with makeup.
I love how pretty the brushes look!
I'm really looking forward to trying out more brushes in this range, especially the eye starter kit (purple) because I've seen them used in videos and they look great.

Have you tried any of the Real Technique brushes?

Tuesday, 28 February 2012

Mac Viva Glam Nicki Minaj Lipstick

Hello lovelies,


I did a post a few weeks ago about the announcement that Nicki Minaj and Ricky Martin would be the new faces of MAC's Viva Glam here.
I've been so excited for this to release, and I received an email saying I could buy it early because I had signed up for the waiting list.
Well today, it finally arrived on my doormat, and I sure am excited!!
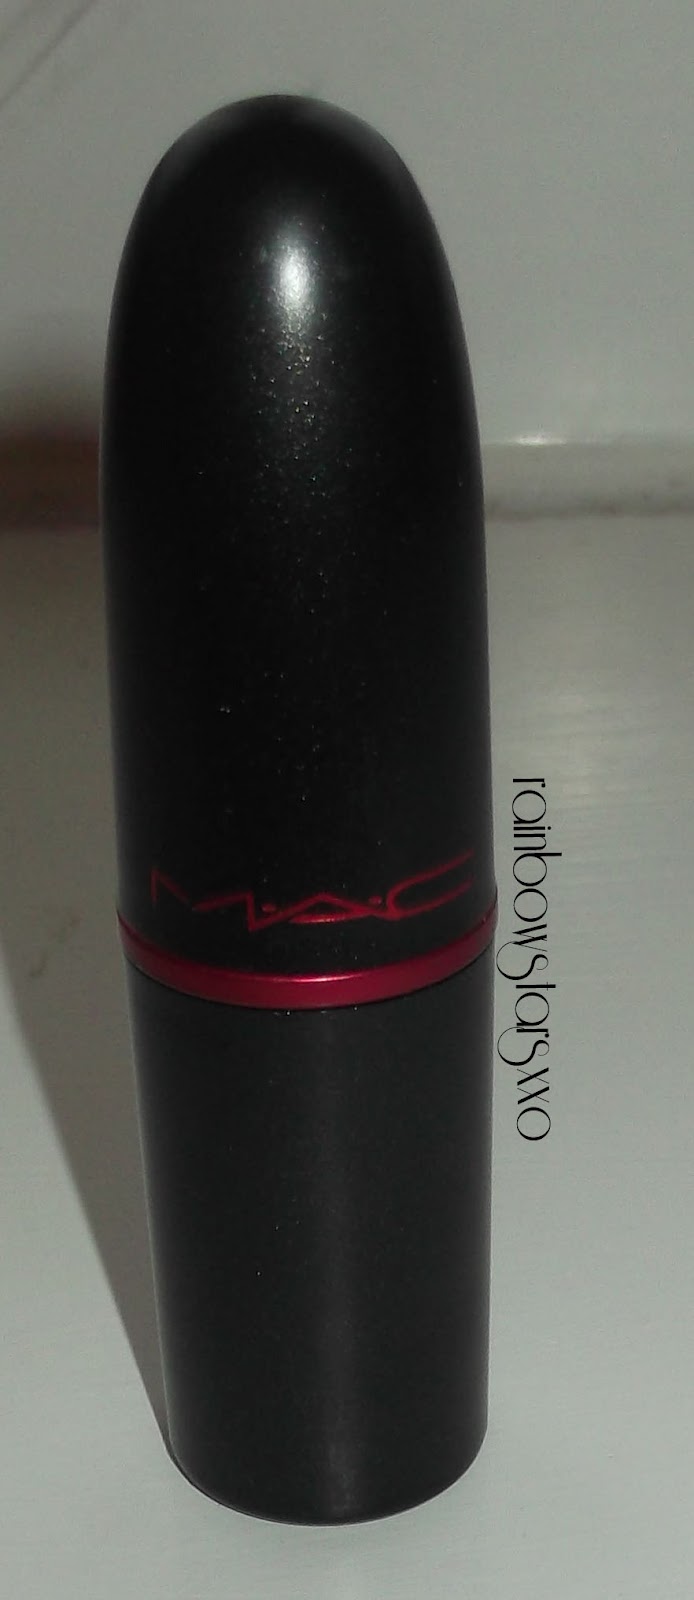
This is my first MAC lipstick, and me being such a fan of Nicki Minaj it just fits perfect. The packaging is cute, and I love the way they've done the person's signature over normal packaging.
The lipstick itself is a bright creamy pink colour. I think you could easily wear it every day or just glam it up for a night time look. 
I'm really looking forward to wearing this and playing around with different coloured looks.


I have 2 Nicki Minaj inspired looks coming up very soon, so keep your eyes peeled!
Have you got something from the Viva Glam range?

Monday, 27 February 2012

Tutorial: Green Eye

Hi everyone,
I've been wanting to do this look for a while now, and now I'm finally get down to it - Yay!

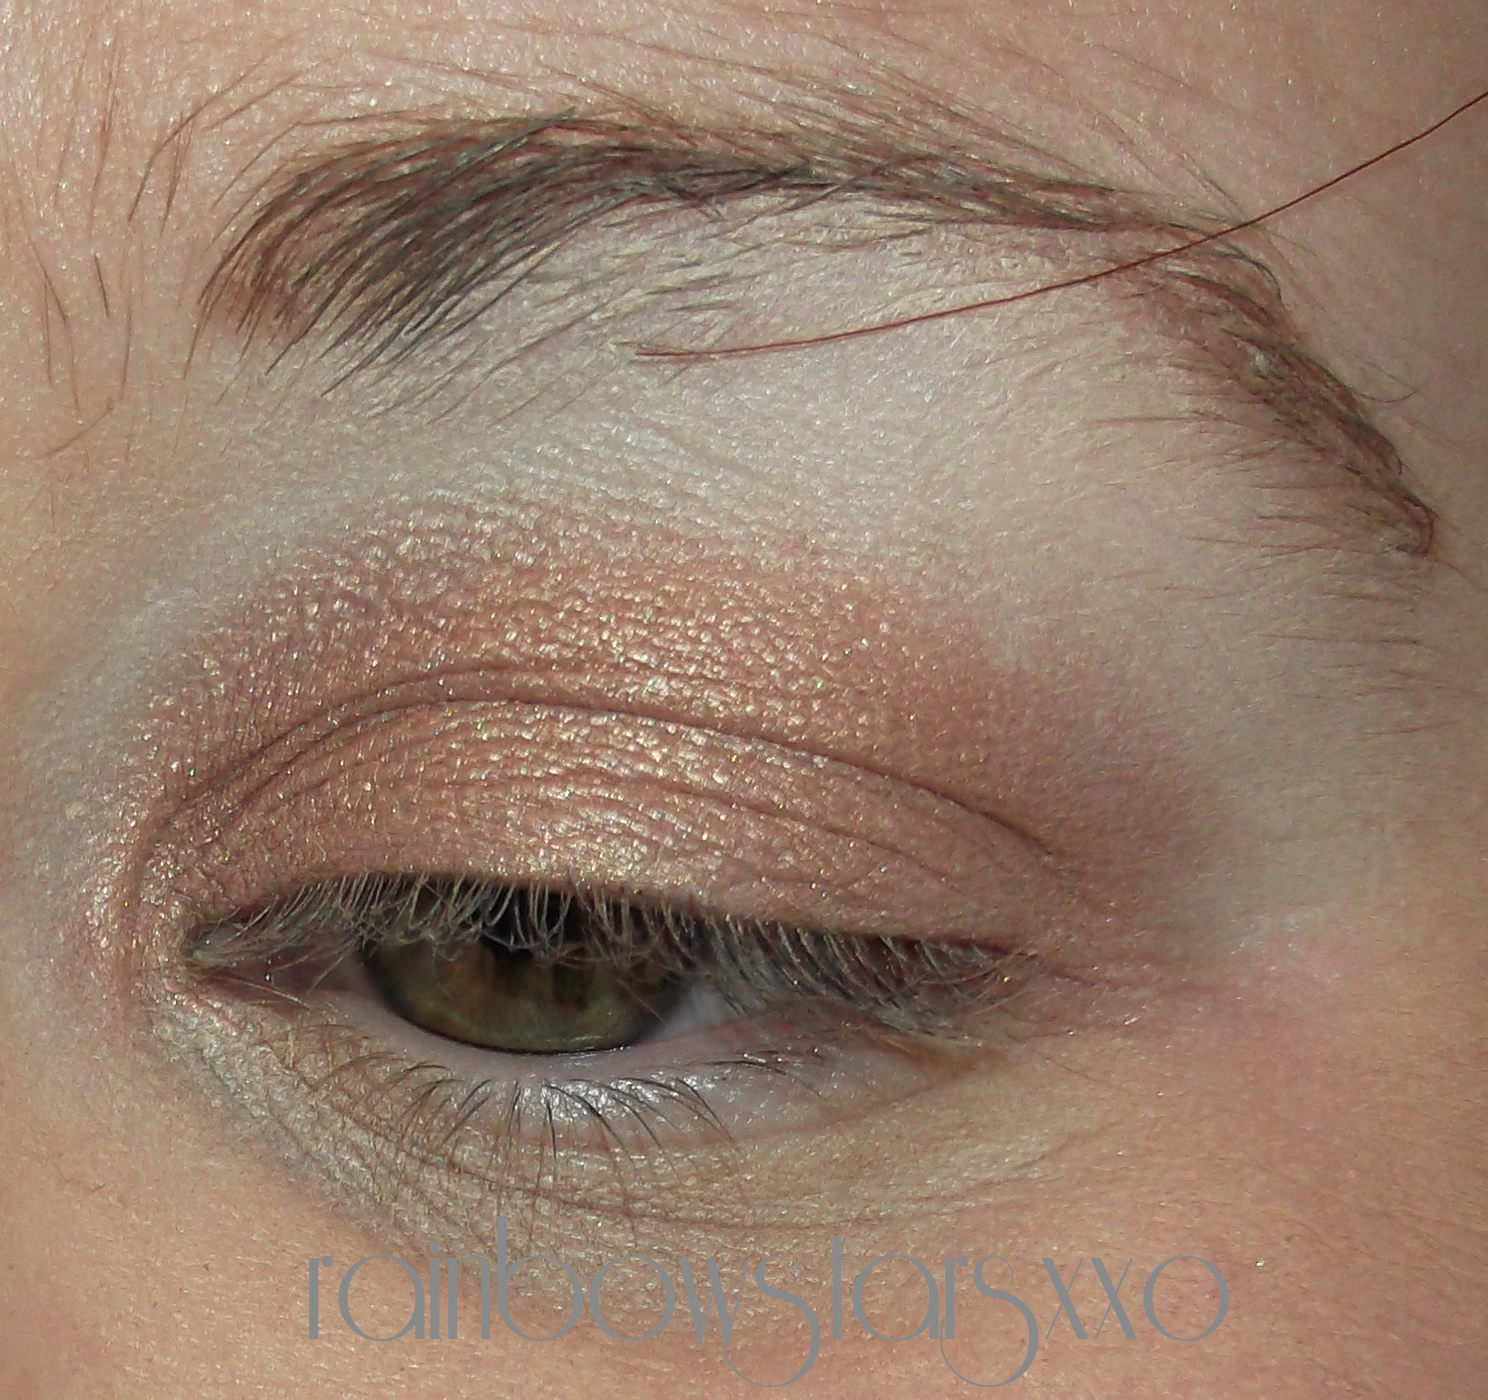
Apply MAC Paint Pot in Painterly to the lid.
I'm really loving this as a base at the moment, and I'm using it a lot in my everyday make up.
Apply the light green from BeautyUK 6 palette into the lid with a MAC 217.
Taking a MAC 266, apply Urban Decay Graffiti to the upper lashline, pushing it up.
Using an ELF Crease brush, apply the neon green from the Sleek Acid palette to create a cut crease.
With the same brush, apply Graffiti to the outer corner and onto the bottom lid.
Apply the white from the Sleek palette under the eyebrows as highlight, and also in the inner corner to make the green a little lighter.
Apply a black gel liner lightly to the top lash, pencil to the waterline and Avon SuperShock mascara to the lashes.
Apply some dramatic eyelashes, and then mascara to marry them together.

FACE:
Dream Nude Airfoam - 010 IVORY
Maybelline SuperStay 24H Concealer - Light/beige 2
MAC Studio Fix Powder- NW20
Urban Decay Blush - Fetish
LIPS:
Helen E Gloss - Strawberry Soda

Hope you liked! :)

Review: Maybelline Dream Nude Airfoam

Hi everyone,

Sorry for the last of posts this last week, I have been so busy with work.
Today I've decided to bring to you a review of something I've been using on and off since it's release.
I got the Maybelline Dream Nude  from Superdrug a few weeks ago and thought I'd share my thoughts on it, with you.
I wasn't sure what to expect with this product, with it being a foam would it be a new break through product or something I'd think "Yeah, great" and never use again?
It is described as an "Air-infused foundation nude perfect finish" and I got it in 010 Ivory, which I imagine would suit my skintone (I usually always get ivory/beige)

So onto the product inside.
On opening the bottle, you need to give it a good shake to mix together the ingredients. It sounds just like a spray paint can, and this made me quite excited (Sad, I know!)
The head is a nice shape, and a good size to fit your finger. 

When you press it down, a mousse like product comes out, it's strange. Quite wet and there's a bit of product to work with. It smells just like sunscreen so I had a feeling of happy holidays.
When you move the product though, it seems like start going into a watery constancy meaning that you have to work fast to actually apply it to your face.

I decided to use my E.L.F Stippling brush to apply, simply because I like using it.
I put the product on my hand, dipped in my brush and then onto the face it went.
The foundation quickly turning into a very wet liquid when I put my brush into it, which was a disappointment.
I think the coverage is good, and you can apply more product to build this. The smell is lovely (sunscreen) and you only need to use a small ball to cover your face. When on the face, it isn't sticky or tacky and it doesn't feel like you have a heavy foundation on.

Overall, I like this product. I think it's cost effective (£6.99 in Superdrug) because of the small amount of product you need to use. I certainly think this will be great in the summer when you only want something light on so you don't feel like your makeup is sliding from your face.

Have you tried Dream Nude Airfoam? What did you think?

Wednesday, 22 February 2012

Blog Lovin'

Hey lovelies, 
I'm just writing this post to ask you a favour, please!

I recently claimed my blog on BlogLovin' and it would be great if you could go on over and follow this blog on there. It'd be much appreciated.

I have a couple of looks on their way soon, as well as a Series post, and possibly a 30 day challenge!

Thanks to everyone who has followed the blog and left some lovely comments, you're all fabulous.

Much love,

Monday, 20 February 2012

Tutorial: Red Dead Redemption

To start this look off I applyed UD Primer in Eden and NYX Pencil in Milk all over the lid.
Apply UD Shag all over the lid.
Take Sleek sunset and apply the Fourth (second on the bottom) colour to the outer corner, inner corner and bottom lid, making a wing.
Make sure you leave a gab in the middle of the top lid.
Apply more Shag just over the outer and inner corner to brighten the edges up a bit.

Then apply Illamasqua Berber to the middle of the lid. Remember to just pat the colour on to make sure you get maximum colour and glitter!
Apply eyeliner to the top and bottom lids and mascara.


To finish, apply UD Virgin under the brows as highlight.


Face:
Helen E Photo Finish foundation
Mac Studio Fix powder
Mac Mocha on the cheeks.
Lips: Helen E Strawberry Soda


Hope you enjoyed!

Blog Hop


I've just found out about this, and I think it's such a fab idea.

Basically the idea is to showcase your blog and gain followers, while finding new blogs to read and follow. I think this is a great idea for new bloggers (like me!) who are trying to gain followers.

For more information, go and check out BlogLoveTherapy's blogpost here.

So make sure you go and check out the blogs, and get yourself on the list!